If you’re looking to create a unique and heartfelt gift for your best friend, a stitch achtergrond bff is a perfect choice. It’s personal, meaningful, and shows how much you care. But where do you start?
Embroidery can seem daunting if you’ve never tried it before.
I get it. You want to make something special but don’t know the first thing about embroidery. Don’t worry, I’ve been there.
This guide will walk you through the process, from picking the right materials to adding those final touches.
You’ll find step-by-step instructions and tips that will help you create a beautiful stitch background. Trust me, with a little guidance, you’ll be stitching like a pro in no time.
So, let’s dive in and get started on that perfect gift.
Choosing the Right Materials
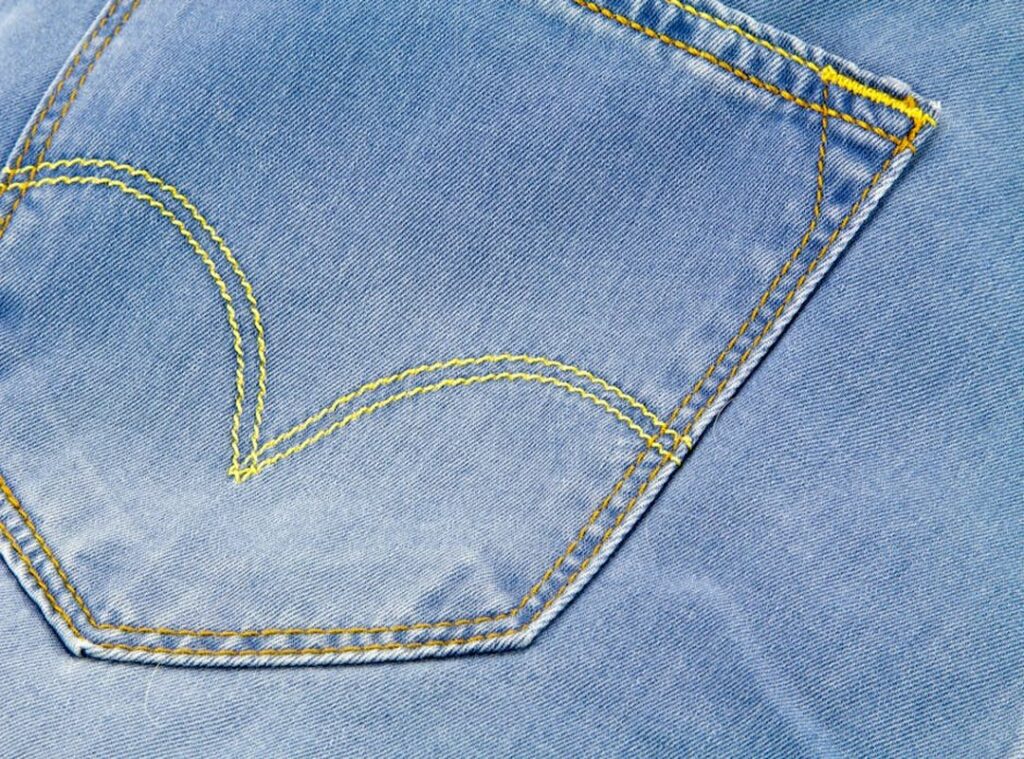
When it comes to embroidery, picking the right fabric is key. Cotton and linen are top choices because they’re sturdy and hold stitches well. Felt is another great option, especially for projects that need a bit of thickness.
Thread Options
Embroidery threads come in different types, each with its own benefits. Cotton thread is versatile and easy to work with, making it perfect for beginners. Silk thread adds a luxurious feel and shine, ideal for special projects.
Metallic threads add a touch of sparkle and are great for highlights and accents.
Embroidery Tools
You’ll need a few essential tools to get started. Embroidery hoops keep your fabric taut, making it easier to stitch. Needles come in various sizes and types, so choose one that fits your thread and fabric.
Scissors are crucial for clean cuts and trimming excess thread.
Each tool plays a vital role in making your embroidery look neat and professional.
Stitch achtergrond bff can be a fun and creative way to add texture and depth to your embroidery. It’s all about finding what works best for your project and personal style.
Designing Your Stitch Background
When it comes to creating a stitch background, inspiration is key. Think about what you love—nature, geometric shapes, or even a stitch achtergrond bff. These elements can make your project unique and personal.
So, where do you start, and sketching, of course. Grab a pencil and paper, and let your creativity flow.
Draw your design, making sure it’s clear and detailed. This step helps you visualize the final product and make any adjustments before you begin stitching.
Now, how do you get that design onto your fabric? There are a few methods. Transfer pens are great for drawing directly on the fabric.
They’re easy to use and wash out cleanly. Iron-on transfers are another option. Just print your design, iron it onto the fabric, and you’re ready to go.
Tracing is also a classic method. Place your fabric over the sketch and trace the lines with a fine-tip pen. It’s simple and effective, especially for more intricate designs.
Each method has its perks. Choose the one that fits your style and comfort level. The goal is to make the process enjoyable and the end result something you’re proud of.
Basic Embroidery Stitches for Beginners
Embroidery is a fun and relaxing hobby, and it’s easier to start than you might think. Let’s dive into some basic stitches that will get you up and running in no time.
Running Stitch: This is as simple as it gets. It’s perfect for outlines and fillings. You can use it to create delicate patterns or bold designs.
The best part, and it’s super easy to master.
Backstitch: If you want clean, bold lines and details, this is your go-to. It’s great for adding definition and making your embroidery stand out. Plus, it’s not hard to learn at all.
French Knot: This one adds texture and detail with a decorative touch. It’s a bit trickier but worth the effort. (Trust me, it’s like the stitch achtergrond bff of embroidery.)
By mastering these basic stitches, you’ll have a solid foundation to build on. You can create beautiful, personalized projects and even make unique gifts for friends and family. So, grab your needle and thread, and let’s get started!
Advanced Embroidery Stitches for Experienced Crafters
Chain Stitch: Create a linked chain effect for borders and decorative elements. It feels like you’re weaving a delicate, continuous thread that adds a touch of elegance.
Satin Stitch: Use for smooth, solid fills and elegant lettering. The satin stitch has a silky, almost glossy finish that can make your embroidery look professional and polished.
Lazy Daisy Stitch: Add floral and leafy details with this easy-to-learn stitch. It’s perfect for adding a bit of whimsy to your projects, and it looks like tiny, delicate petals.
Stitch achtergrond bff is a great way to add depth and texture to your embroidery. It’s all about layering and creating a rich, dimensional look that can really bring your designs to life.
When you run your fingers over the finished piece, you can feel the different textures and the way the threads interlock. It’s a sensory experience that makes the craft so rewarding.
If you’re looking to expand your skills, try combining these stitches in different ways. Experiment with colors and patterns. You might be surprised by what you can create.
And if you want to dive deeper into other creative pursuits, (this guide)[https://lcftechmods.com.co/mobile-gaming-strategies-for-high-rank-climbing/] might give you some ideas.
Adding Personal Touches

Start with an anecdote about how I once made a custom gift for my best friend. It was a simple keychain, but adding her initials and a tiny symbol of our favorite video game made it so much more special.
- Incorporating Names:
- Use stitch achtergrond bff to create a background with your BFF’s name or initials. It adds a personal and unique touch.
-
Consider the font style. Something bold and clear can make a statement, while a cursive or handwritten style can add a softer, more intimate feel.
-
Personal Motifs:
- Think about symbols that mean something to both of you. Maybe it’s a specific flower, a star, or even a small icon from a shared experience.
- Add these motifs in subtle ways. A small engraving on a piece of jewelry, a hidden detail in a drawing, or even as a watermark on a photo.
Remember, the little details can make a big difference. What small touches have you added to gifts for your best friends?
Finishing and Presenting Your Work
Cleaning up your embroidery is the final step before you can show it off. Use a lint roller or a soft brush to remove any marks or guidelines from the fabric. It’s a small detail, but it makes a big difference in the overall look.
Framing is where you can get creative. DIY frames and shadow boxes are great options. They add a personal touch and can be customized to match your style.
Plus, they protect your embroidery and keep it looking good for years.
If you’re giving your embroidered piece as a gift, packaging matters. A simple gift box with a personal note can make it feel extra special. It shows you put thought into every part of the process.
Stitch achtergrond bff is a neat technique that adds depth and texture. It’s a small detail, but it can really elevate your work.
Remember, the way you present your embroidery is just as important as the embroidery itself. A little effort here goes a long way.
Common Embroidery Mistakes and How to Fix Them
Embroidery can be a relaxing and rewarding hobby. But let’s face it, mistakes happen. Here’s how to handle some of the most common ones.
Uneven Tension: Tips for Maintaining Even Tension in Your Stitches
Uneven tension is a real headache, and it makes your embroidery look sloppy. To keep your stitches even, try to maintain a consistent pull on your thread.
Not too tight, not too loose.
Sometimes, the type of fabric you’re using can affect tension. If you notice issues, try switching to a different fabric or adjusting your hoop tension.
Tangled Threads: How to Prevent and Untangle Knots in Your Thread
Tangled threads can ruin your flow. To prevent knots, make sure your thread isn’t too long. A shorter length is easier to manage.
If you do get a knot, don’t panic. Gently work it out with a needle or a pin. Patience is key here.
Fixing Errors: Techniques for Correcting Mistakes
Mistakes are part of the learning process. If you mess up, it’s not the end of the world. One common technique is to carefully remove the stitches with a seam ripper.
After removing the stitches, rework the area. Take your time and focus on getting it right.
Remember, practice makes perfect. stitch achtergrond bff can help you improve your skills over time. Keep at it, and you’ll see your embroidery get better and better.
Celebrate Your Friendship with a Beautiful Embroidery
Creating a stitch achtergrond bff starts with selecting the right fabric and embroidery floss. Next, choose a design that resonates with your friendship. Trace or transfer the design onto the fabric.
Use basic embroidery stitches like backstitch, satin stitch, and French knots to bring the design to life.
With the right materials, techniques, and personal touches, you can create a meaningful and lasting gift. Add a special message or date to make it even more unique.
Embrace the creative process and enjoy the satisfaction of making something special for your best friends.
 Ask Geneva Burnsinser how they got into platform play strategies and you'll probably get a longer answer than you expected. The short version: Geneva started doing it, got genuinely hooked, and at some point realized they had accumulated enough hard-won knowledge that it would be a waste not to share it. So they started writing.
What makes Geneva worth reading is that they skips the obvious stuff. Nobody needs another surface-level take on Platform Play Strategies, Insider Tips, Tech-Enhanced Game Mods. What readers actually want is the nuance — the part that only becomes clear after you've made a few mistakes and figured out why. That's the territory Geneva operates in. The writing is direct, occasionally blunt, and always built around what's actually true rather than what sounds good in an article. They has little patience for filler, which means they's pieces tend to be denser with real information than the average post on the same subject.
Geneva doesn't write to impress anyone. They writes because they has things to say that they genuinely thinks people should hear. That motivation — basic as it sounds — produces something noticeably different from content written for clicks or word count. Readers pick up on it. The comments on Geneva's work tend to reflect that.
Ask Geneva Burnsinser how they got into platform play strategies and you'll probably get a longer answer than you expected. The short version: Geneva started doing it, got genuinely hooked, and at some point realized they had accumulated enough hard-won knowledge that it would be a waste not to share it. So they started writing.
What makes Geneva worth reading is that they skips the obvious stuff. Nobody needs another surface-level take on Platform Play Strategies, Insider Tips, Tech-Enhanced Game Mods. What readers actually want is the nuance — the part that only becomes clear after you've made a few mistakes and figured out why. That's the territory Geneva operates in. The writing is direct, occasionally blunt, and always built around what's actually true rather than what sounds good in an article. They has little patience for filler, which means they's pieces tend to be denser with real information than the average post on the same subject.
Geneva doesn't write to impress anyone. They writes because they has things to say that they genuinely thinks people should hear. That motivation — basic as it sounds — produces something noticeably different from content written for clicks or word count. Readers pick up on it. The comments on Geneva's work tend to reflect that.