Taking a great headshot can be a real challenge. Poor lighting, blurriness, and unflattering angles can ruin what should be a clear, professional image. But don’t worry, I’ve got some solid advice to help you out.
Let’s get straight to it. You want a bashid mclean selfie of head no blur. That’s the goal.
And trust me, with a few simple tips, you can achieve it.
I’ve been there, struggling with those common issues. It’s frustrating, right? But once you know the tricks, it gets a whole lot easier.
So, let’s dive in. I’ll share my experience and give you practical steps to take that perfect headshot. Ready?
Understanding the Basics of Photography
Photography is all about capturing a moment, and to do that, you need to understand a few key elements: exposure, composition, and focus. Think of these as the building blocks of a great photo.
Exposure is like the amount of light in your shot. Too much makes it washed out, too little makes it dark. Composition is how you arrange what’s in the frame.
It’s like setting up a scene on a stage. Focus, well, that’s making sure the important parts are sharp and clear.
Now, let’s talk camera settings, and iSO, aperture, and shutter speed. ISO is like the sensitivity of your camera to light.
A higher ISO means more light, but it can also add noise, kind of like static on an old TV. Aperture controls the size of the lens opening. A wide aperture (small f-number) lets in more light and creates a shallow depth of field, blurring the background.
Shutter speed is how long the shutter stays open. Fast speeds freeze action, slow speeds create motion blur.
Lighting is crucial. Natural light can be soft and flattering, like a gentle morning sun. Artificial light, on the other hand, can be harsh and direct, like a spotlight.
Both have their uses, depending on the mood and effect you want.
bashid mclean selfie of head no blur
Understanding these basics will help you take better photos. Practice with different settings and lighting conditions. Soon, you’ll start to see the world through a photographer’s eye.
Choosing the Right Equipment
Camera Selection: DSLR vs, and mirrorless vs. Smartphone cameras.
When it comes to picking a camera, you’ve got options. DSLRs are like the classic choice—reliable and versatile. Mirrorless cameras are more compact and offer great image quality.
And let’s not forget smartphones. They’re getting better every year and can be super convenient.
Lenses: The importance of using a prime lens for headshots.
Prime lenses have a fixed focal length. This means they don’t zoom, but they do give you sharper, clearer images. Perfect for headshots where you want to capture all the details.
Bashid McLean selfie of head no blur.
Tripods and Stabilizers: Why stability is crucial for a clear, sharp image.
Stability is key. A shaky hand can ruin a good shot. Tripods and stabilizers help keep your camera steady.
This is especially important for long exposures or when you need that perfect, crisp image.
Setting Up the Perfect Environment
Choosing a simple, non-distracting background is key. It helps keep the focus on you and not what’s behind you.
Lighting can make or break your setup. Natural light is great, but it’s not always reliable. Ring lights and softboxes are solid alternatives.
They provide even, flattering illumination.
Positioning the lights matters too. Place them at eye level or slightly above to avoid harsh shadows. Experiment with different angles to find what works best for you.
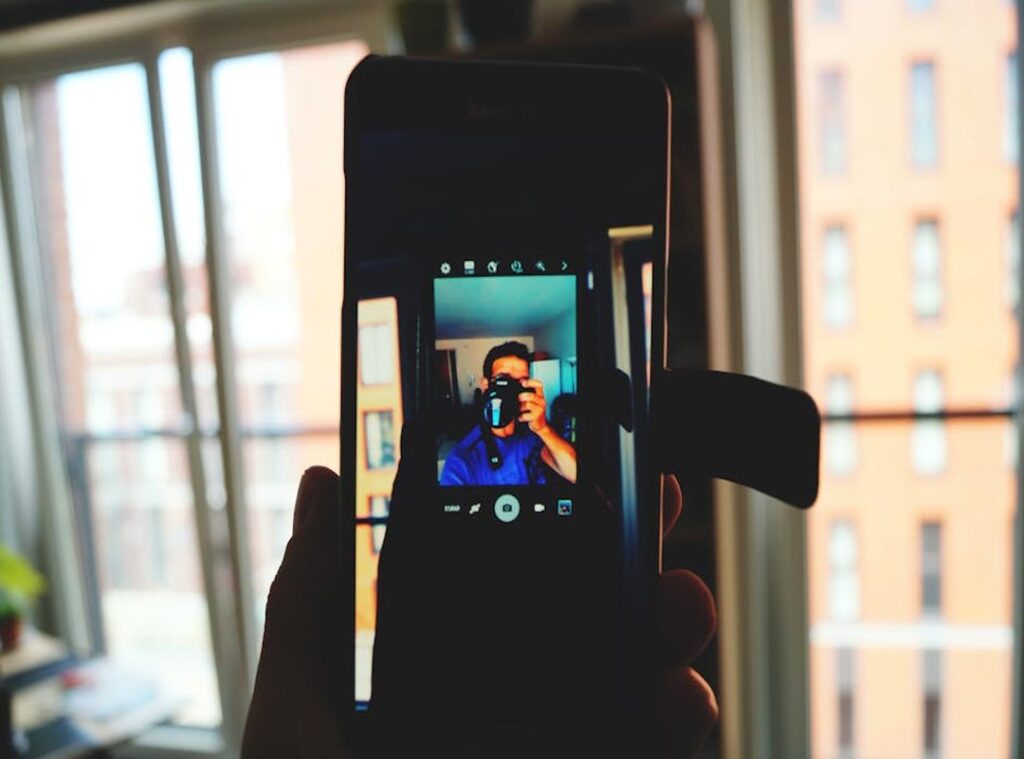
Now, let’s talk about positioning yourself. Bashid McLean selfie of head no blur shows how a good angle can make a big difference.
Face the camera straight on or at a slight angle. This helps create a more engaging and natural look.
Remember, the goal is to present yourself in the best possible way. A little effort in setting up your environment can go a long way.
Mastering Camera Settings for a Clear Headshot
ISO: Balancing sensitivity and noise, and it’s all about finding the right balance. Too high, and you get that grainy look.
Too low, and your photo might be too dark.
Aperture: Achieving the right depth of field. You want your subject to stand out, but not so much that the background is a complete blur. A good starting point is f/2.8 or f/4.
Shutter Speed: Avoiding motion blur and capturing sharp details. If you’re shooting a headshot, aim for at least 1/125th of a second. This will keep your subject nice and sharp.
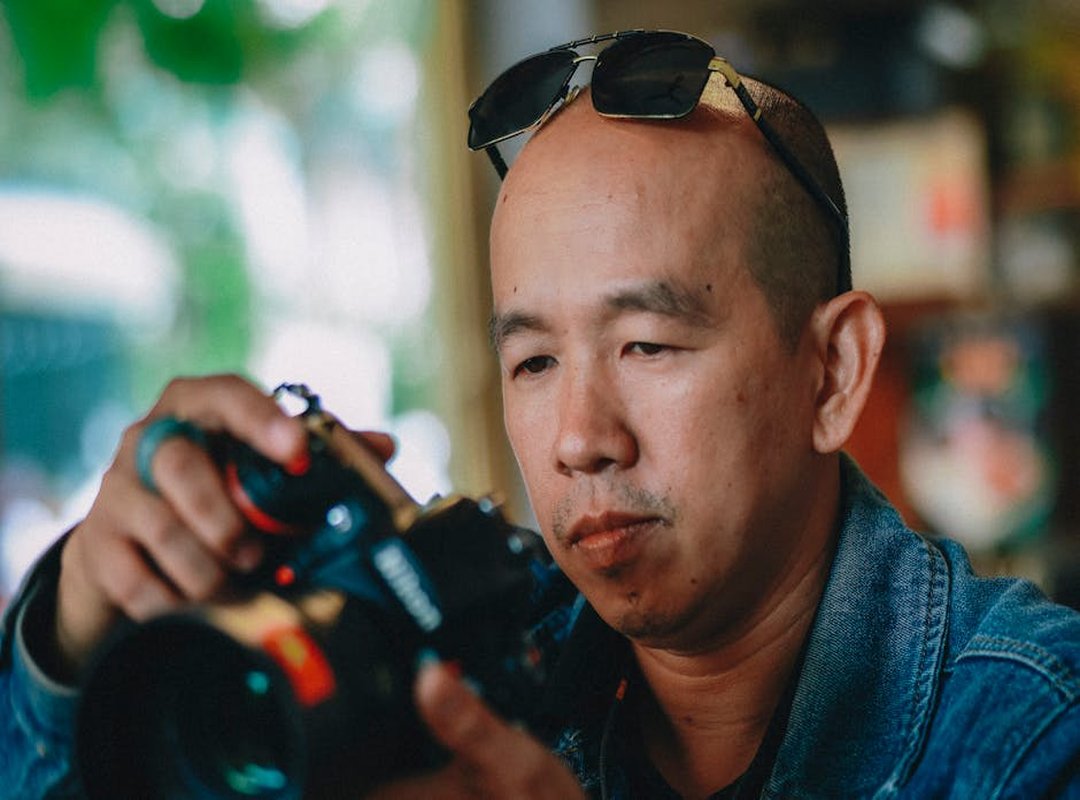
Check out this bashid mclean selfie of head no blur. It’s a great example of how these settings can work together to create a clear, crisp image.
Understanding these settings can make a big difference in your photography. And hey, if you’re into gaming, mastering these skills can even help with adapting your playstyle across different gaming platforms.
Focusing Techniques for Sharpness
Autofocus vs, and manual Focus: When to use each. Autofocus is great for quick, on-the-go shots, especially when you’re dealing with fast-moving subjects.
But sometimes, it just doesn’t cut it. Manual focus lets you fine-tune the sharpness, which is crucial in low-light or tricky lighting situations.
Focus Points: Selecting the right focus point for the subject’s eyes. This can make or break a portrait. I’ve seen plenty of photos where the nose or the ear is in perfect focus, but the eyes are blurry.
It’s frustrating, right, and (And trust me, I’ve been there.)
Continuous Shooting: Capturing multiple shots to ensure clarity. This is super useful when you’re not sure if you got the shot. Sometimes, the best photo is the one you didn’t expect.
Bashid McLean selfie of head no blur.
I’m not going to lie; even with all these techniques, getting the perfect shot isn’t always easy. There’s a lot of trial and error involved. But with practice, you’ll start to see a real difference in your photos.
Post-Processing for a Professional Finish
Editing Software: Let’s talk about the big names. Adobe Lightroom and Photoshop are top picks for a reason. They offer powerful tools to refine your images.
Basic Adjustments: Start with the essentials. Cropping, exposure, and color correction can make a huge difference. These tweaks help you frame your subject and set the mood.
Advanced Techniques: Once you’ve got the basics down, it’s time to level up. Retouching, sharpening, and removing distractions can turn a good photo into a great one.
Take a look at the bashid mclean selfie of head no blur. It’s a perfect example of how these techniques can bring out the best in an image.
Remember, practice makes perfect, and keep experimenting and refining your skills. You’ll be amazed at what you can achieve.
Common Mistakes and How to Avoid Them
Poor Composition: Avoiding common framing errors. It’s easy to get caught up in the moment and forget about the basics. (Trust me, I’ve been there.)
Incorrect Lighting: Recognizing and fixing lighting issues, and bad lighting can ruin a great shot. Take a look at your setup and see if you need to adjust.
Blurry Images: Tips for maintaining sharpness and clarity. Nothing’s more frustrating than a blurry photo. bashid mclean selfie of head no blur is a good example of how it should be done.
Make sure you’re using a steady hand or a tripod. That way, you can avoid those annoying blurs.
By keeping these tips in mind, you’ll improve your photos and enjoy the process more.
Capturing the Perfect Bashid McLean Headshot
To capture a bashid mclean selfie of head no blur, start by ensuring you have the right setup. Good lighting is crucial, so find a well-lit area or use a softbox to avoid harsh shadows.
Position yourself or your subject directly in front of the camera. This helps in maintaining symmetry and clarity.
Adjust your camera settings next. Use a high shutter speed to prevent motion blur. A low ISO setting can help in reducing noise, especially in well-lit conditions.
After taking the shot, review it for any imperfections. Post-processing tools like Adobe Lightroom or Photoshop can be used to fine-tune the image. Adjust exposure, contrast, and sharpness as needed.
Practice and experimentation are key. Try different angles and lighting setups to see what works best.
 Ask Geneva Burnsinser how they got into platform play strategies and you'll probably get a longer answer than you expected. The short version: Geneva started doing it, got genuinely hooked, and at some point realized they had accumulated enough hard-won knowledge that it would be a waste not to share it. So they started writing.
What makes Geneva worth reading is that they skips the obvious stuff. Nobody needs another surface-level take on Platform Play Strategies, Insider Tips, Tech-Enhanced Game Mods. What readers actually want is the nuance — the part that only becomes clear after you've made a few mistakes and figured out why. That's the territory Geneva operates in. The writing is direct, occasionally blunt, and always built around what's actually true rather than what sounds good in an article. They has little patience for filler, which means they's pieces tend to be denser with real information than the average post on the same subject.
Geneva doesn't write to impress anyone. They writes because they has things to say that they genuinely thinks people should hear. That motivation — basic as it sounds — produces something noticeably different from content written for clicks or word count. Readers pick up on it. The comments on Geneva's work tend to reflect that.
Ask Geneva Burnsinser how they got into platform play strategies and you'll probably get a longer answer than you expected. The short version: Geneva started doing it, got genuinely hooked, and at some point realized they had accumulated enough hard-won knowledge that it would be a waste not to share it. So they started writing.
What makes Geneva worth reading is that they skips the obvious stuff. Nobody needs another surface-level take on Platform Play Strategies, Insider Tips, Tech-Enhanced Game Mods. What readers actually want is the nuance — the part that only becomes clear after you've made a few mistakes and figured out why. That's the territory Geneva operates in. The writing is direct, occasionally blunt, and always built around what's actually true rather than what sounds good in an article. They has little patience for filler, which means they's pieces tend to be denser with real information than the average post on the same subject.
Geneva doesn't write to impress anyone. They writes because they has things to say that they genuinely thinks people should hear. That motivation — basic as it sounds — produces something noticeably different from content written for clicks or word count. Readers pick up on it. The comments on Geneva's work tend to reflect that.